(Post by A.D. Riddle)
This posting will focus on two ways that Picasa can help you deploy the Pictorial Library of Bible Lands in classroom teaching. (See our first post on “Using PLBL with Picasa” here.)
First, we will show you how to use Albums to create a presentation on-the-fly using photographs that are located in multiple folders. This could be helpful if you are short on time, and the topic you are teaching or studying (such as Paul’s missionary trips) involves places or events across the Pictorial Library. First, browse or search for the photographs(s) that you want to include in your presentation.
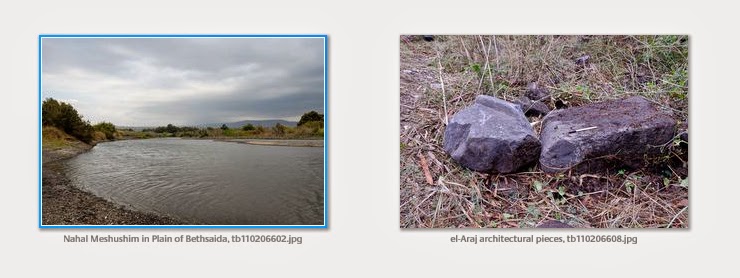
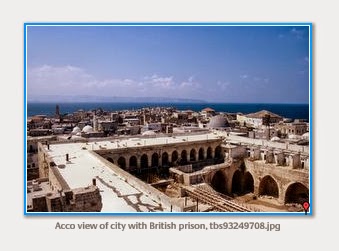
When you click once on the photograph, it will be “selected” and two things will happen: a blue frame will appear around the selected image as below,
Left image is selected and has a blue frame.
and a thumbnail of the thumbnail (is there a name for this?) will appear in the lower left window of Picasa, in an area called the selection tray.
Selection tray with three selected images.
You can select more than one image at a time from a single folder using Shift or Control/Command keys. To select photographs from another folder without losing your selections from previous folders, click the “green thumbtack” button to “hold” the items in the selection tray. The red circle will remove items from the selection tray.
Selection tray buttons.
Once you have selected all the photographs you want to use in your presentation, click the “blue book” button for “albums.” It will open a menu that allows you to select an existing “album” or create a new “album” where you want to send the photographs. The images will not actually be moved.
Rather, albums are like “Smart Playlists” (or Dynamic Folders); you can add or delete albums without touching the original images. They allow you to mix-and-match into a single folder a variety of photographs that are located in several folders. All of the images in the selection tray will be “sent” to the album that you choose or create.
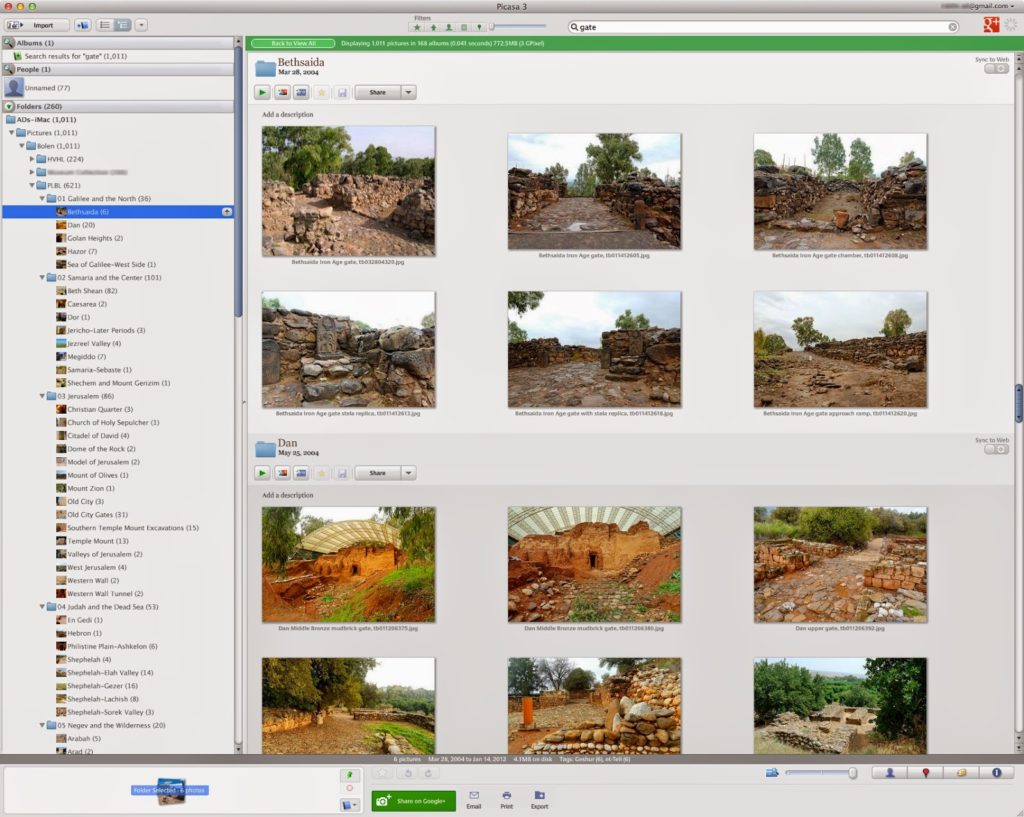
Albums can be viewed by clicking on “Albums” at the top of the left-side browser.
Albums browser with an album for “Gates.”
With your photographs in an album, you can now arrange the order of the photographs by clicking-and-dragging the thumbnails in the main screen. Once you have the photographs in the sequence you want them, double-click the first photograph to go the “Edit Picture” screen. At the top is a Play button which will begin the slideshow presentation.
Play slideshow button.
Moving the cursor in slideshow view will cause a control bar to appear at the bottom. Here you can rotate a photo, zoom in, exit the slideshow, or make other adjustments.
Slideshow controls.
To return to the main screen from the “Edit Picture” screen, click the “Back to Library” button at top left.
Return to main screen button.
Second, we will show you how to use Picasa to create a Google Earth kmz file of locations containing image thumbnails. The secret to doing this is Geotags. Geotags are location coordinate information contained within the actual photograph. By clicking the blue “information” button in the Show/Hide Panels toolbar at the bottom right of the screen, you can view the photograph metadata. If a photograph is geotagged, the metadata will include a GPS Latitude and GPS latitude.
Show/Hide Panels buttons.
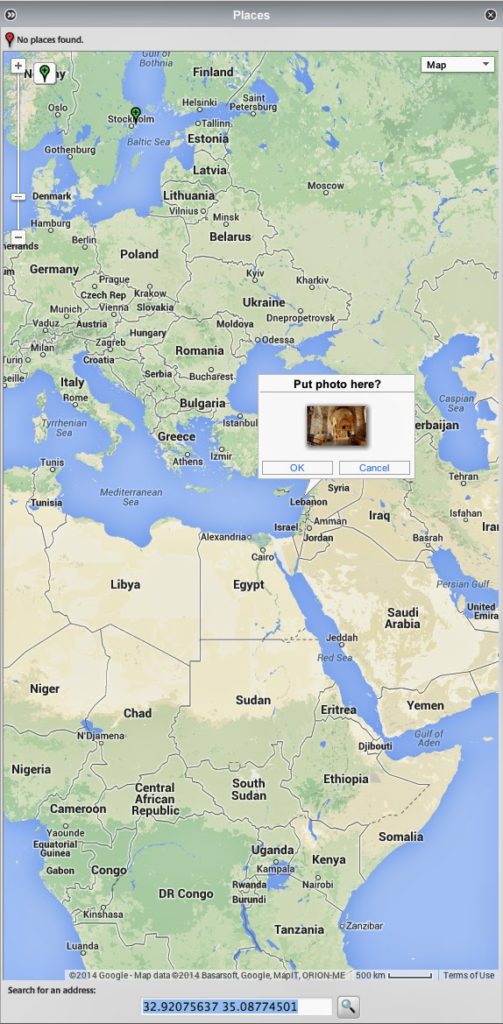
To geotag a photograph, click the red “balloon pin” button on the Show/Hide Panels toolbar. A window will expand on the right which looks just like Google Maps.
Places Panel.
Select the photograph(s) you want to geotag. (You can tag multiple photographs at the same time.)
Next, you need to find the location in the Google map. (Just like with Google Maps, you can switch to satellite view and zoom in/out.) There are a few ways to find the location. You can do this manually by dragging the screen with the cursor and using zoom controls, and then clicking the green “balloon pin” to drop it on the location. You can use the search bar under the map to enter the name of a location. The best method, though, since so many Pictorial Library places are archaeological sites, is to copy/paste the coordinates from the Pictorial Library’s Site Index into the search bar.
Once a photograph is geotagged, the thumbnail in the main screen will have a red “balloon pin” in the lower right corner.
Photograph with red “balloon pin” indicating
it has been geotagged.
To create a Google Earth kmz file, select the geotagged photographs you want to include. Again, you can use the selection tray as described above. For Windows computers only, go to Tools > Geotag > Export. This will create a kmz file from the photographs you selected. The kmz file can be opened in Google Earth or Google Maps, and it will contain yellow “pushpins” with thumbnail images of the photographs which have been geotagged to that location. (The kmz export feature is not available in the Mac version of Picasa. Instructions are here for accomplishing the same task.)
I can imagine this being useful, for example, if one is teaching on the life of Abraham. You can have “pushpins” at Haran, Shechem, Bethel, Hebron, etc. with thumbnails of Pictorial Library photographs. The kmz file can be distributed to students, or it might be used in classroom instruction. Perhaps a teacher might craft an exercise where students have to make a “map” of a biblical account using photos from the Pictorial Library.
This completes our series on “Using Pictorial Library of Bible Lands with Picasa.” Picasa can be a very helpful tool for locating and deploying the wealth of images in the library.
We close with a comment about the limitations of using the Pictorial Library only with Picasa (or similar applications). The photographs of the Pictorial Library come in pre-made PowerPoint presentations which contain the maps, abundant annotations in the Speaker’s Notes (see here and here), helpful labels, and have the photographs arranged in a logical order. Picasa misses out on all these features, so our recommendation is not to bypass the PowerPoints, but use Picasa in conjunction with them.
